Chances are, the new, agent-first artificial intelligence era is upon us, with developers seeking tools that genuinely understand the unique processes behind code generation, rather than just reactively generating code. Google Antigravity plays a significant role here, holding the key to building highly customizable AI agents. This article will demystify its three cornerstone concepts—rules, skills, and workflows—and demonstrate how to link them to construct more robust agents and powerful automated pipelines. Specifically, we will perform a step-by-step process to set up a code quality assurance (QA) agent workflow, based on specified rules and skills, for Python code.
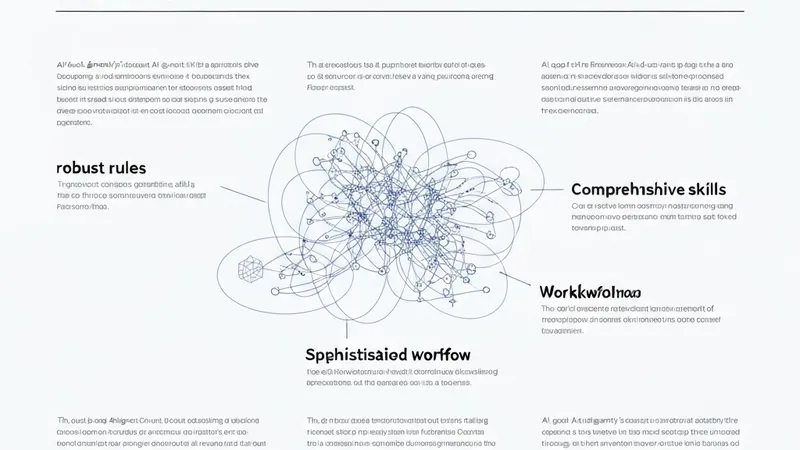
Before diving into practical application, it's essential to break down the following three elements integral to the Google Antigravity ecosystem:
- Rule: These are the baseline constraints that dictate the agent's behavior, as well as how to adapt it to our stack and match our style. They are stored as markdown files.
- Skill: Consider skills as a reusable package containing knowledge that instructs the agent on how to address a concrete task. They are allocated in a dedicated folder that contains a file named
SKILL.md. - Workflow: These are the orchestrators that integrate all elements. Workflows are invoked by using command-like instructions preceded by a forward slash, e.g.,
/deploy. Simply put, workflows guide the agent through a well-structured action plan or trajectory consisting of multiple steps, which is key to automating repetitive tasks without loss of precision.
Let's move on to our practical example. We will see how to configure Antigravity to review Python code, apply correct formatting, and generate tests—all without the need for additional third-party tools. Before taking these steps, make sure you have downloaded and installed Google Antigravity on your computer first.
Once installed, open the desktop application and open your Python project folder. If you are new to the tool, you will be asked to define a folder in your computer file system to act as the project folder. Regardless, the way to add a manually created folder into Antigravity is through the "File >> Add Folder to Workspace..." option in the upper menu toolbar.
Say you have a new, empty workspace folder. In the root of the project directory (left-hand side), create a new folder and give it the name .agents. Inside this folder, we will create two subfolders: one called rules and one named skills. You may infer that these two are where we will define the two pillars for our agent's behavior: rules and skills. Let's define a rule first, containing our baseline constraints that will ensure the agent's adherence to Python formatting standards.